Sunday 15 April 2012

DIY self watering pots

In the garden I try to DIY as much as possible. For both environmental and financial reasons. When I first started out, quite a few sites on the interwebs had instructions for cutting a milk or soft bottle in half and inverting the top half to make a self watering pot. Recently I have been taking it a step further and turning the handle into a spout. It has been working so well that I thought I would document and share.

 Empty milk bottle, that would otherwise go in the trash

Cut ~2 cm below the handle
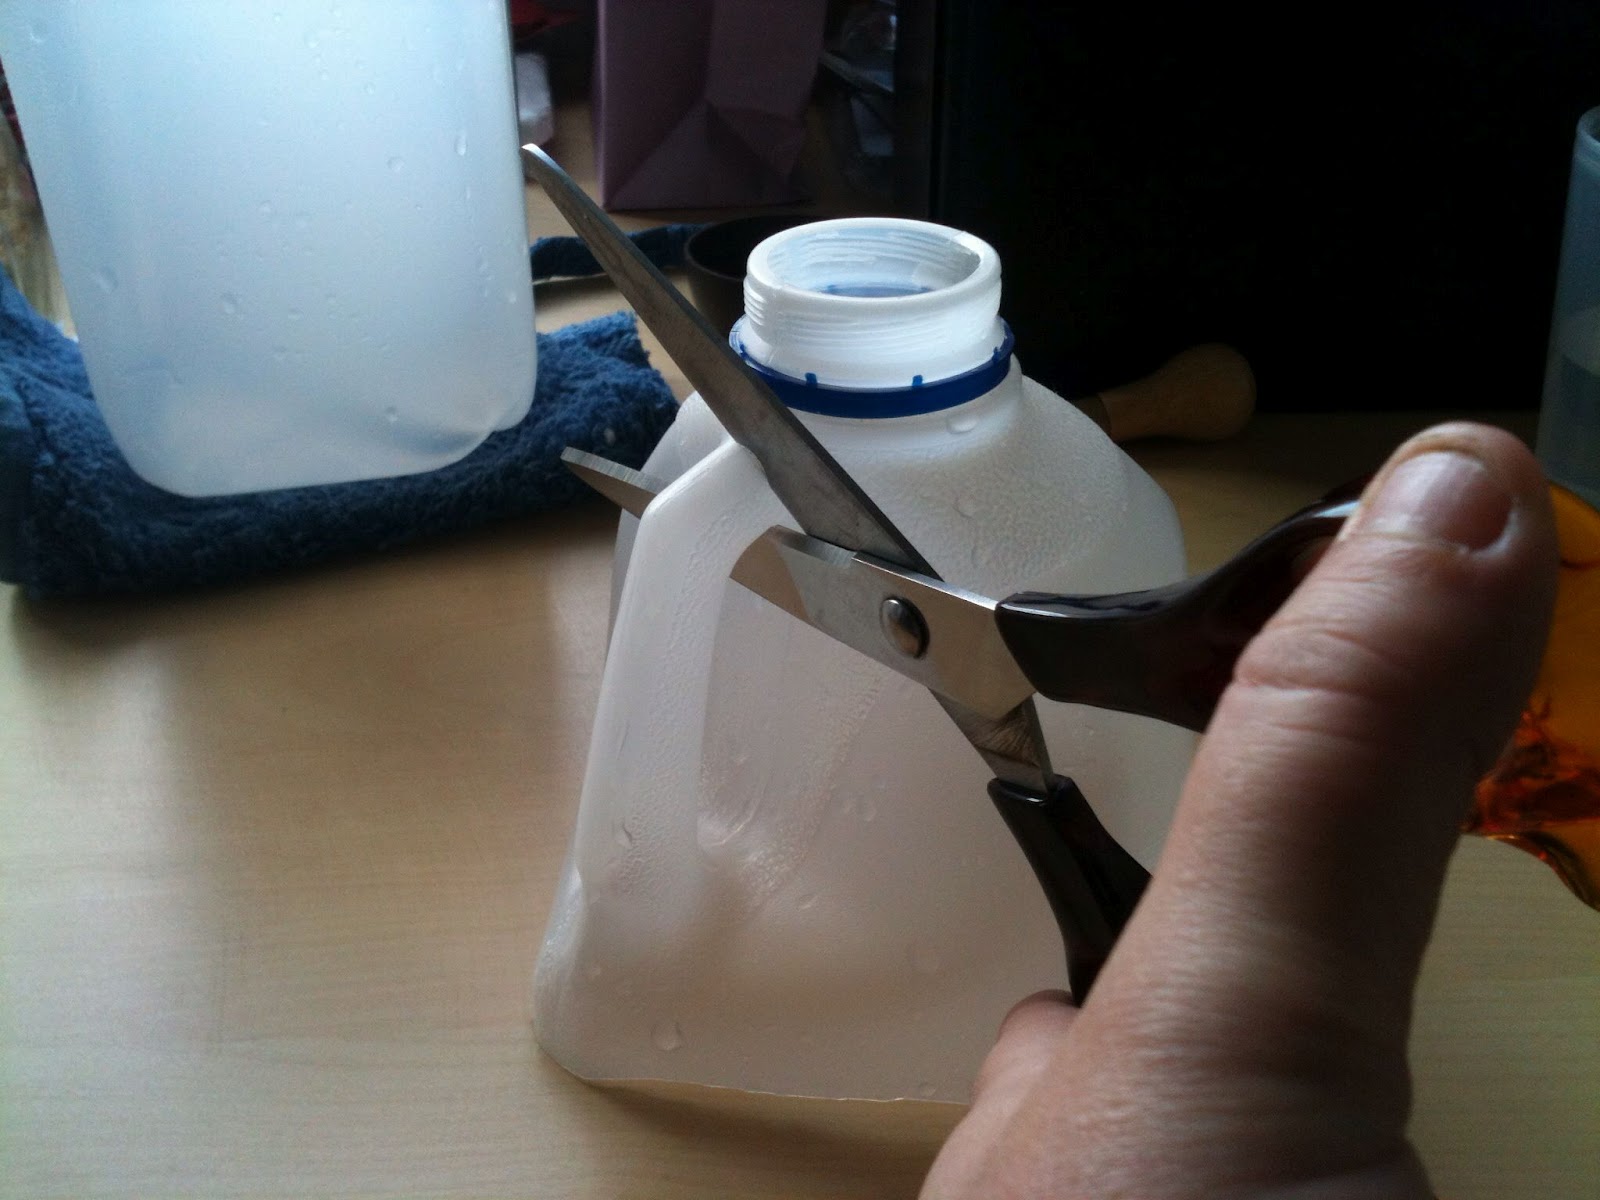
Cut off the handle

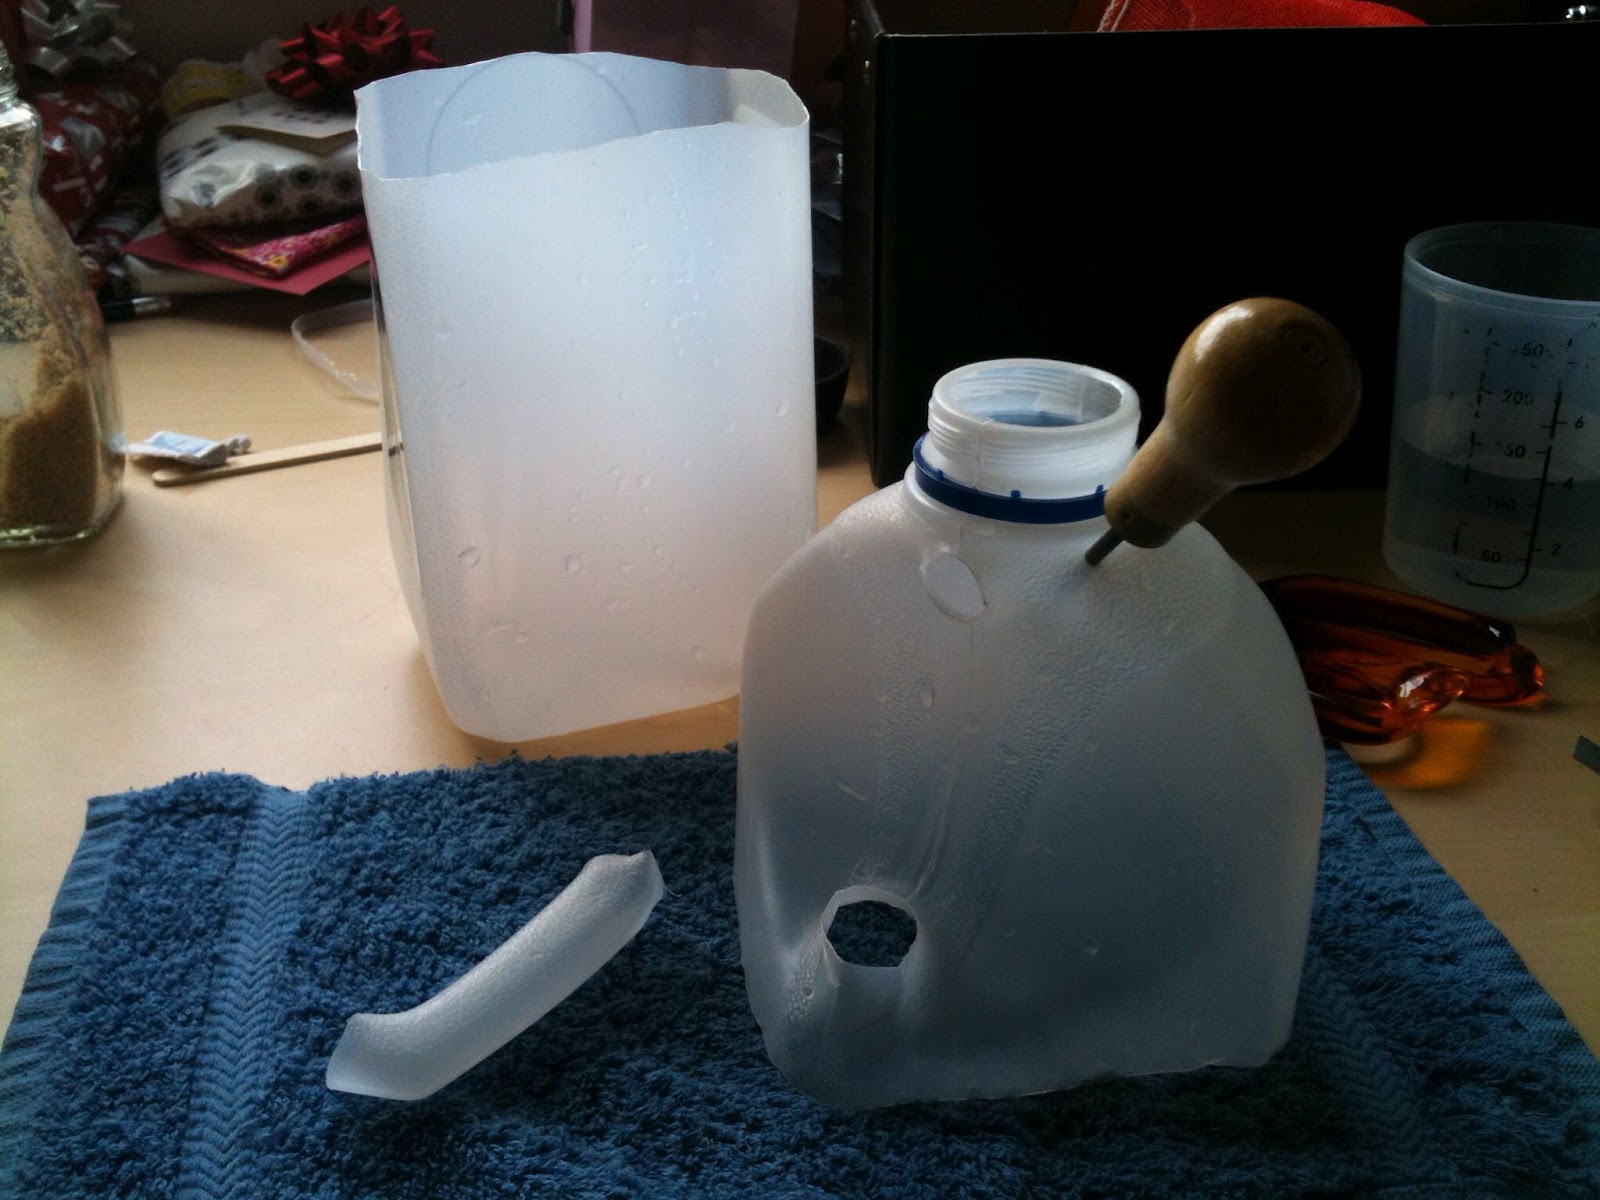
 Poke holes around the opening - for water to seep into the soil. Perhaps not necessary but I have found it works better if I do this.

Feed the handle back through the hole left where it was cut off. Can duct tape it into place, but I have since found its ok without the duct tape - as long as you hold the handle/spout in place while filling the pot with soil.

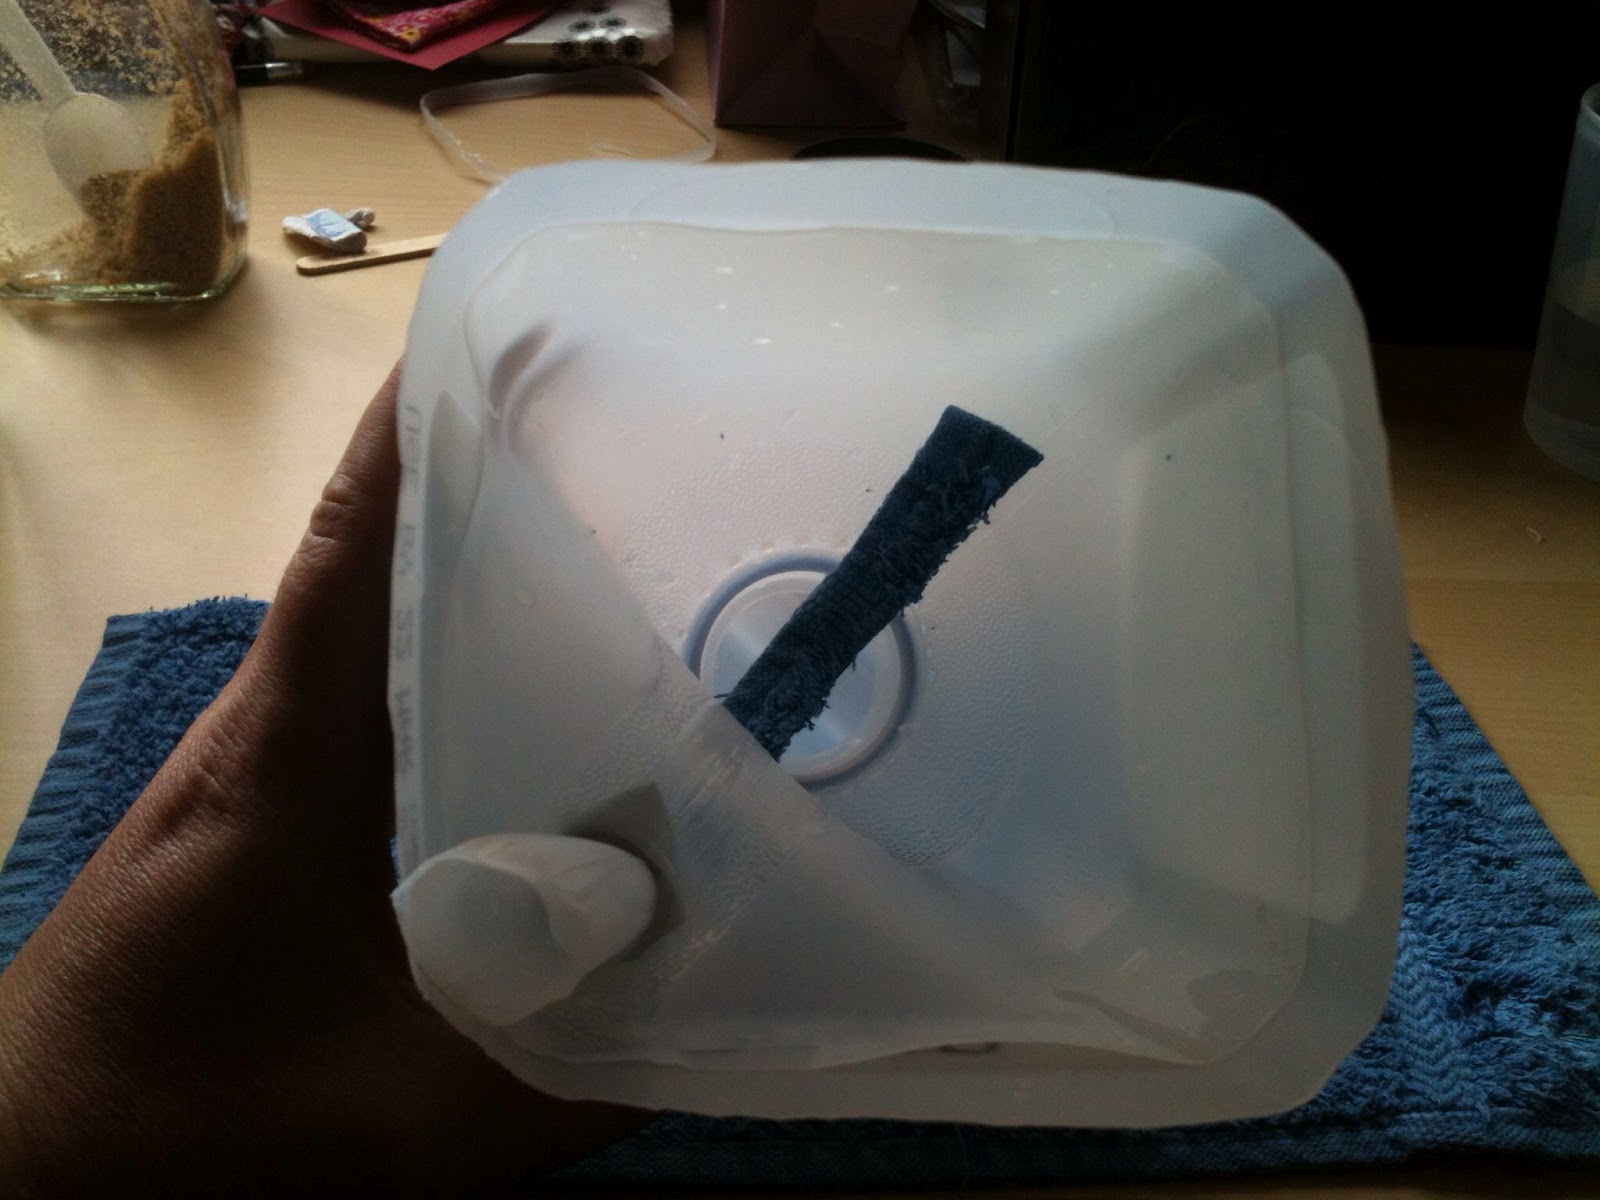
Place the top, with the spout, upside down in the bottom half of the container.
Optional extra - as I had some old hand towels I was cutting up for other purposes I added a wick - through the 2nd hole left by where the handle was cut away. Usually I don't bother. 

 Tada! Add soil to the top and pour water down the spout and you have a home made self-watering pot.
I have been using these in my greenhouse to raise larger seedlings.

Previously I added an overflow hole on the side - about half way up, but I don't bother anymore. As the container is see-through I can see how much water is in it. It is covered (in the greenhouse) so there is no chance of rainfall flooding the plant. Minimising access to the stagnant water will hopefully prevent mozzies breeding in there - I am very wary of creating too many mozzie breeding grounds in my garden.

Sunday 8 April 2012

Boxing Day - Happy Feet Two

Going thru a bit of a backlog of photos at the moment and I have found some I forgot from summer holidays in Qld. On Boxing Day, Happy Feet 2 opened so the Aurisch/Bell/McMillan clan went to see it at a local cinema (and cheered loudly when we saw Uncle Matt's name in the credits).


April in the kitchen garden

So, I seem to have missed March in the garden, oops, oh well, here's April:

   Currently growing L-R: Smokey's pot (Bottlebrush & Cat Grass); Tomato, Marigold, Sunflowers (behind the Marigold - can't see them yet here); Corn, Climbing Beans; Zuchini, Carrots & Lettuce box, Herbs, Lucerne, and Strawberry

 Harvest! We have been adding quite a few bits and bobs to meals recently from the garden.[

 I harvested the sweet potato today - they worked! (sort of). Given it was 2x false starts and therefore very late in season they got under way I am pretty happy with this lot. Lessons learnt for next year :)
  
Winter seedlings - Broccoli, Cauliflower, Dill, Celery, Celeriac, Carrots (an experiment that I will tell you about if it works), Chilli, Onions, Alpine Strawberry

A couple of weekends ago I made an old Styrofoam box into a self-watering planter for Carrots and Lettuce. Both (according to the Internet) can be grown year-round in our climate and are good companion plants as carrots have a deep root while lettuce is shallow root. Unfortunately despite being behind the herbs, Mr Smokey has found them and lying in this box is his new favourite spot - hence few seedlings. I planted more seeds both directly in the box and in pots in the green house this weekend. I think I will put netting over it too.

Ladybugs! My poor Zuchini has suffered badly from powdery mildew due to the mild and humid summer. I nearly pulled it today but a whole colony of ladybugs (good bugs - they eat the mildew) have moved in and it is looking a bit better. Maybe I'll get another fruit or two from it (we have had a couple) and I quite enjoy looking at the bugs. The funny grey things below are the ladybug larvae.

A rewarding day in the garden can only finish with Smokey on my lap wanting a head rub.